Materials & setup
In this video, we’ll cover what the lesson is about, the materials I’ll be using, and my still life setup.
You will need:
Viewfinder
Titanium white paint
Dark neutral paint (a very large mixture)
You have a few options: You can use a dark neutral straight from the tube, like Ivory Black or Raw Umber. You can mix it yourself with any red, yellow, and blue (watch my demo here) or any colors that neutralize each other (I use burnt sienna and ultramarine blue).A palette (12x16 or larger)
Any solvent/OMS (like Gamsol) for thinning paint and cleaning brushes
Oil medium (like safflower, linseed, or walnut oil)
1 sheet of cotton canvas taped to a drawing board (I use Paramount size 12x16)
Shop towels
Hog bristle brushes (flats and filberts, size 2-10)
Palette knife (I use 2)
Any subject with a clear light source and range of values
Still life, landscape, portrait, or figure all work for this lesson. If you struggle with values, I recommend neutral objects in a variety of values (similar to my setup). Avoid saturated subjects until you feel more confident with values.
Still life setup and easel
How I set up my palette
Layer 1: Underpainting
In this step, we’ll start with my process for creating an underpainting.
*Because of audio issues during filming, I recommend watching with captions on.
Start with a loose line sketch
Using thinned dark paint and a small brush, sketch in a loose line drawing of your subject. Your viewfinder will help you find where the major elements are located. It’s important that the paint stays really thin (with a little bit of Gamsol). The goal is not to create a beautiful drawing, but rather, to locate the major elements of the composition in the right size and shape on the canvas.
Separate light from shadow
After you feel good about your line drawing, find where my big shapes of shadow and light occur. Use your brush to fill paint into the areas of shadow. After that, use your paper towel to wipe out the areas that are lit and rub in the areas that are in shadow. This will create a beautiful flat shadow shape that tones the canvas.
You’re ready to move on when you can glance quickly at your canvas and see a very simplifed view of the light and shadow that gives your subject form.
Left: completed line sketch, Right: completed underpainting block-in of light and shadow
Diagram showing where light hits my subject vs where my subject is in shadow
Value Analysis
This is the most critical step in the lesson where I show you how to find accurate value relationships with the Value card.
Create a value hierarchy
You’ll take the light and shadow shapes from layer 1 and break them down to create a value hierarchy: the darkest, middle, and lightest value shapes both in the shadow and in the light. In the shadow, you’ll have a darkest shadow (DS), a middle shadow (MS) and a lightest shadow (LS). In the light, you’ll have a lightest light (LS), a middle light (ML), and a darkest light (DL).
You’ll do this by squinting while looking at your subject and asking yourself questions like: “What is my darkest shape in the shadow? What is my lightest shape in the shadow?” and “What is my lightest shape in the light? What is my darkest shape in the light?” Based on what you’re seeing, you’ll determine the big shapes at each level of the hierarchy, one by one. Remember, there is no right or wrong answer here. YOU make the decisions.
Examples of shapes in light vs shadow
Identify values for each level in the hierarchy
Next, use your Value Card to identify an average value number for each level in your value hierarchy. This will simplify the composition down to 5 or 6 values that will serve as a roadmap for your painting.
Because there will be multiple shapes within each level of your hierarchy, it will be almost impossible to find a value that perfectly represents each shape. It’s important to remember that the goal is about finding accurate value relationships that work together on the canvas — not accurate value numbers that perfectly match your subject. You’re simply finding an average starting point that you can adjust and refine as you paint.
Identifying the lightest light (LL) shape at a value 1
Value hierarchy for my composition: LL-1, ML-3, DL-6, LS-6, MS-7, DS-9
Layer 2: Big Value Shapes
In this step, I’ll show you how I mix paint and fill in the shapes for each value in my value hierarchy.
Mix paint and fill in the shapes
Starting with any level in the hierarchy, mix paint and fill in all the shapes in that level before moving on to the next one. Use your value card to test your paint mixtures as you go so you’re confident you’re mixing the right values.
Fill in your shapes with a large brush and paint thinned with Gamsol. You want this layer to be a little wetter than the underpainting step, but still very very thin and dry.
Check your relationships and adjust your shapes
As you’re painting shapes from one level to the next, look back and forth between your canvas and your subject to evaluate if the value relationships are reading accurately. Also remember to check in with your drawing frequently and adjust it as you go. If the paint gets too thick or wet, scrape and wipe it out, aiming for a very thin layer.
You’ll know you’ve completed the step when the canvas is covered in paint and the form of your subject, in a very simplified way, is making sense.
Stop here — and practice again and again
This lesson is most powerful when you practice it over and over again — especially for painters who are new to values or have been struggling with them. Practice working up to this point is a great way to train your eye and establish a foundation of values. You know you’re ready for the next two layers when you can get to this point and you feel refreshed and excited for what’s next.
Palette with mixed paint
Layer 2 progress images
Layers 3 & 4: Smaller shapes and finishing details
I’ll show you how I break my big shapes down into smaller and smaller shapes, eventually leading to a finished piece.
*Because of audio issues during filming, I recommend watching with captions on.
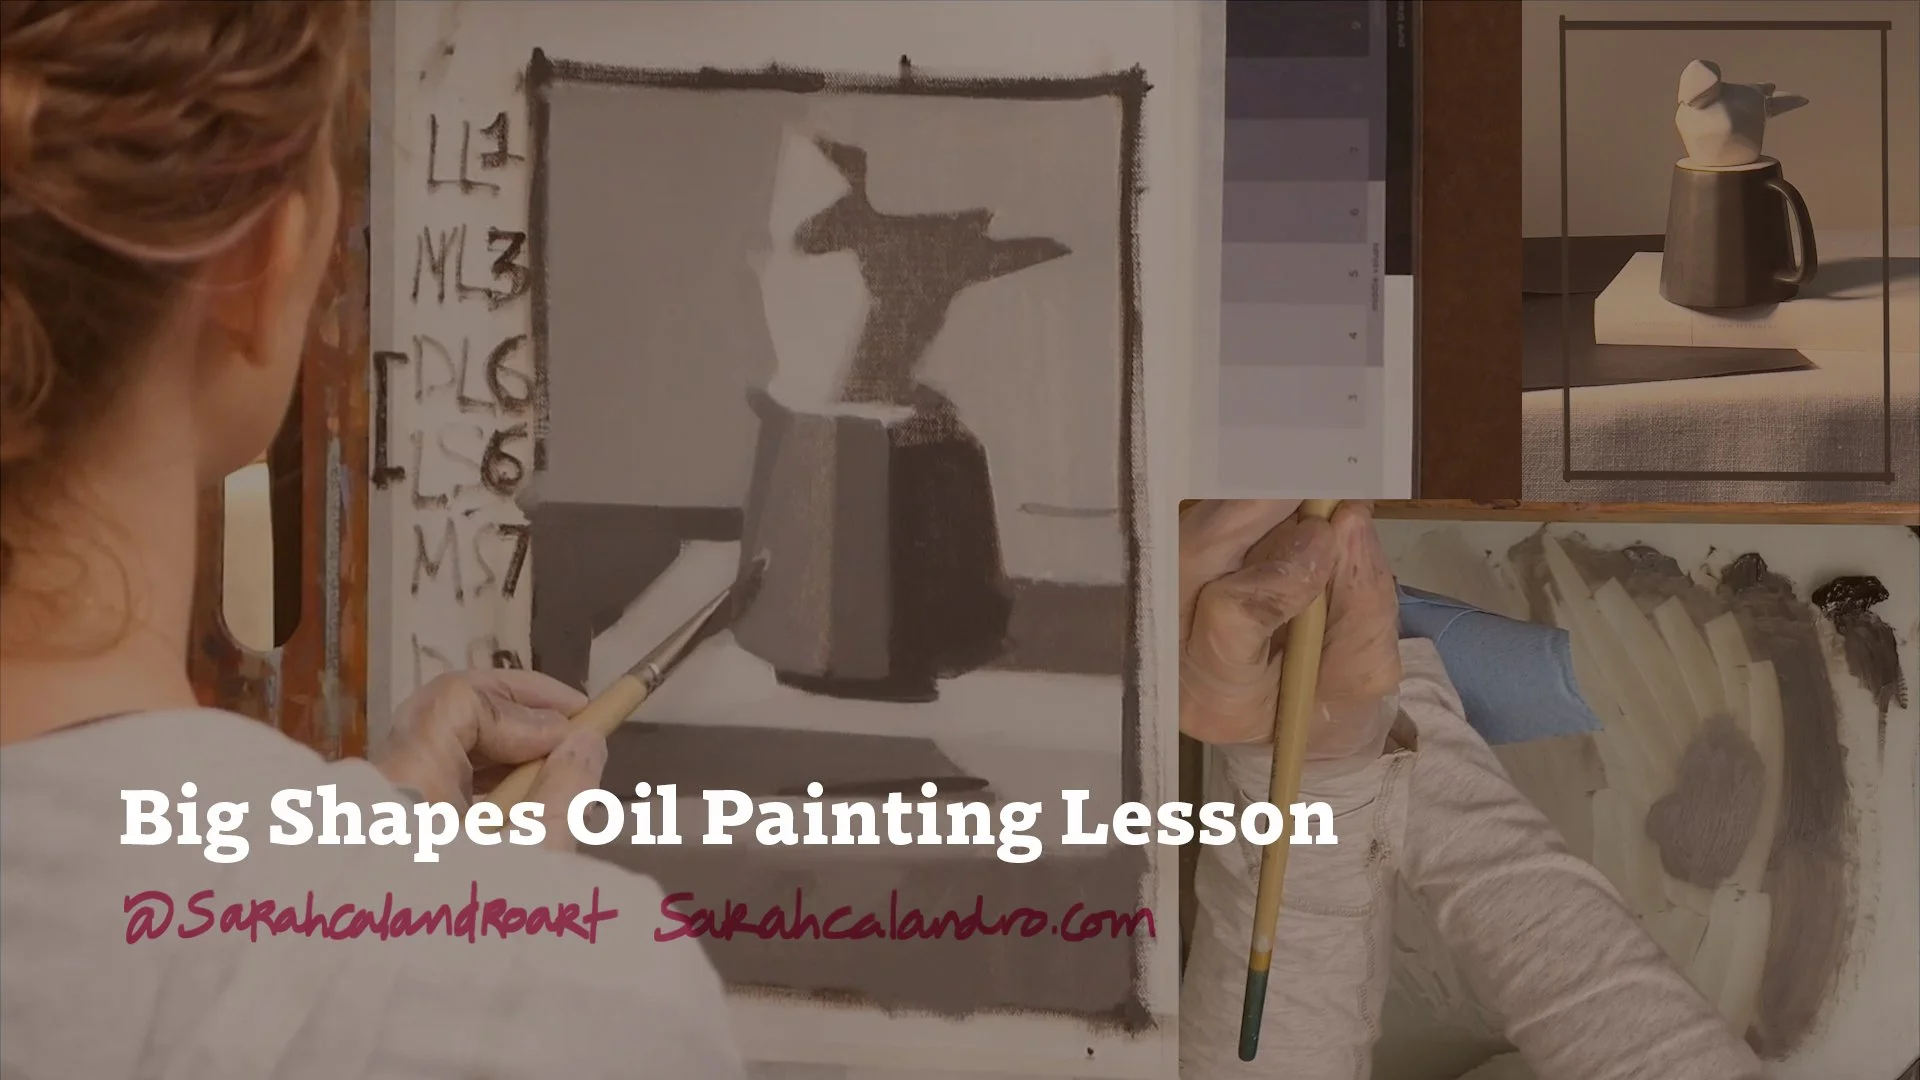
Break each big shape into smaller shapes
This is the step where you’ve made all of the tough decisions (finally!), and you can get into a painting flow. You’ll put away your Gamsol and use oil medium with thicker and thicker paint as you go.
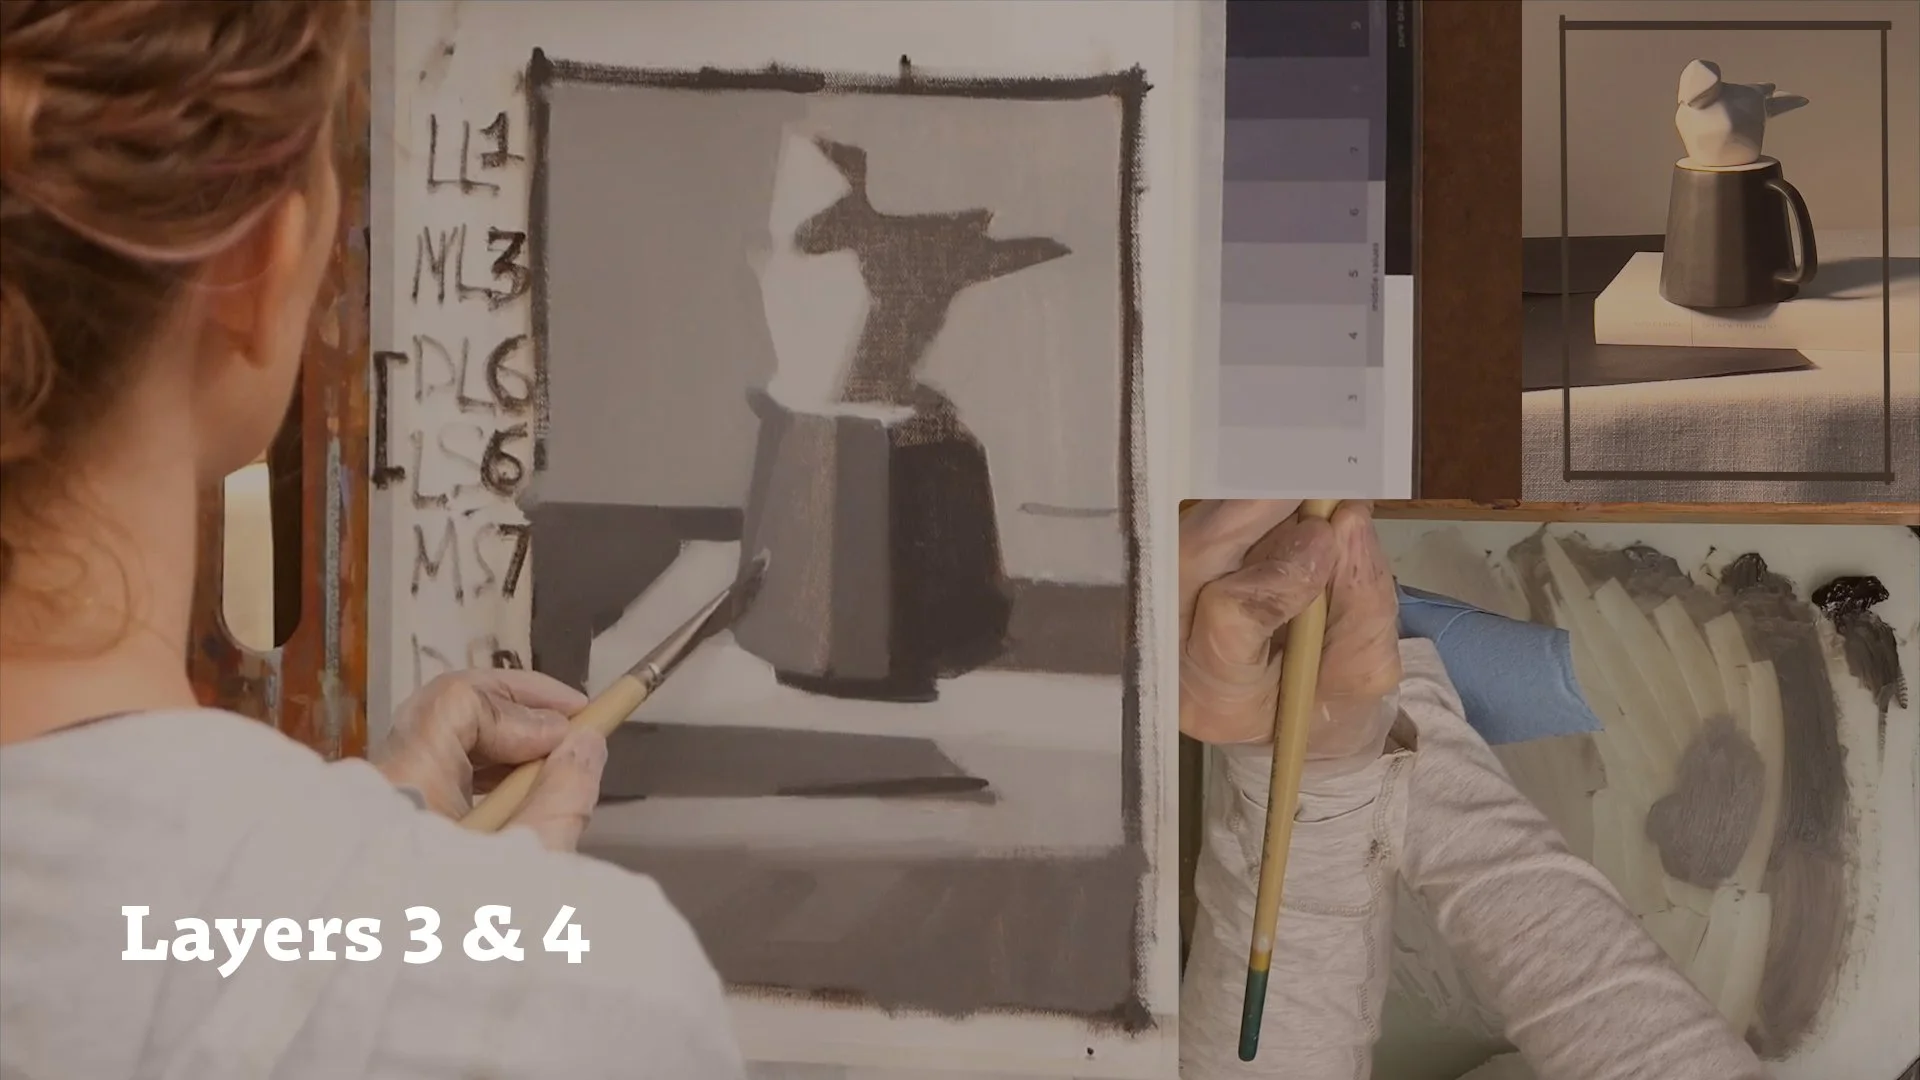
Start by choosing any shape in the painting you’re interested in developing more. Find the initial value for that shape, and then begin breaking it down into smaller shapes, using small value shifts to create more depth, refinement, and detail. You’ll go a little darker and a little lighter — but with care that you don’t deviate too far from the initial value you identified for the shape.
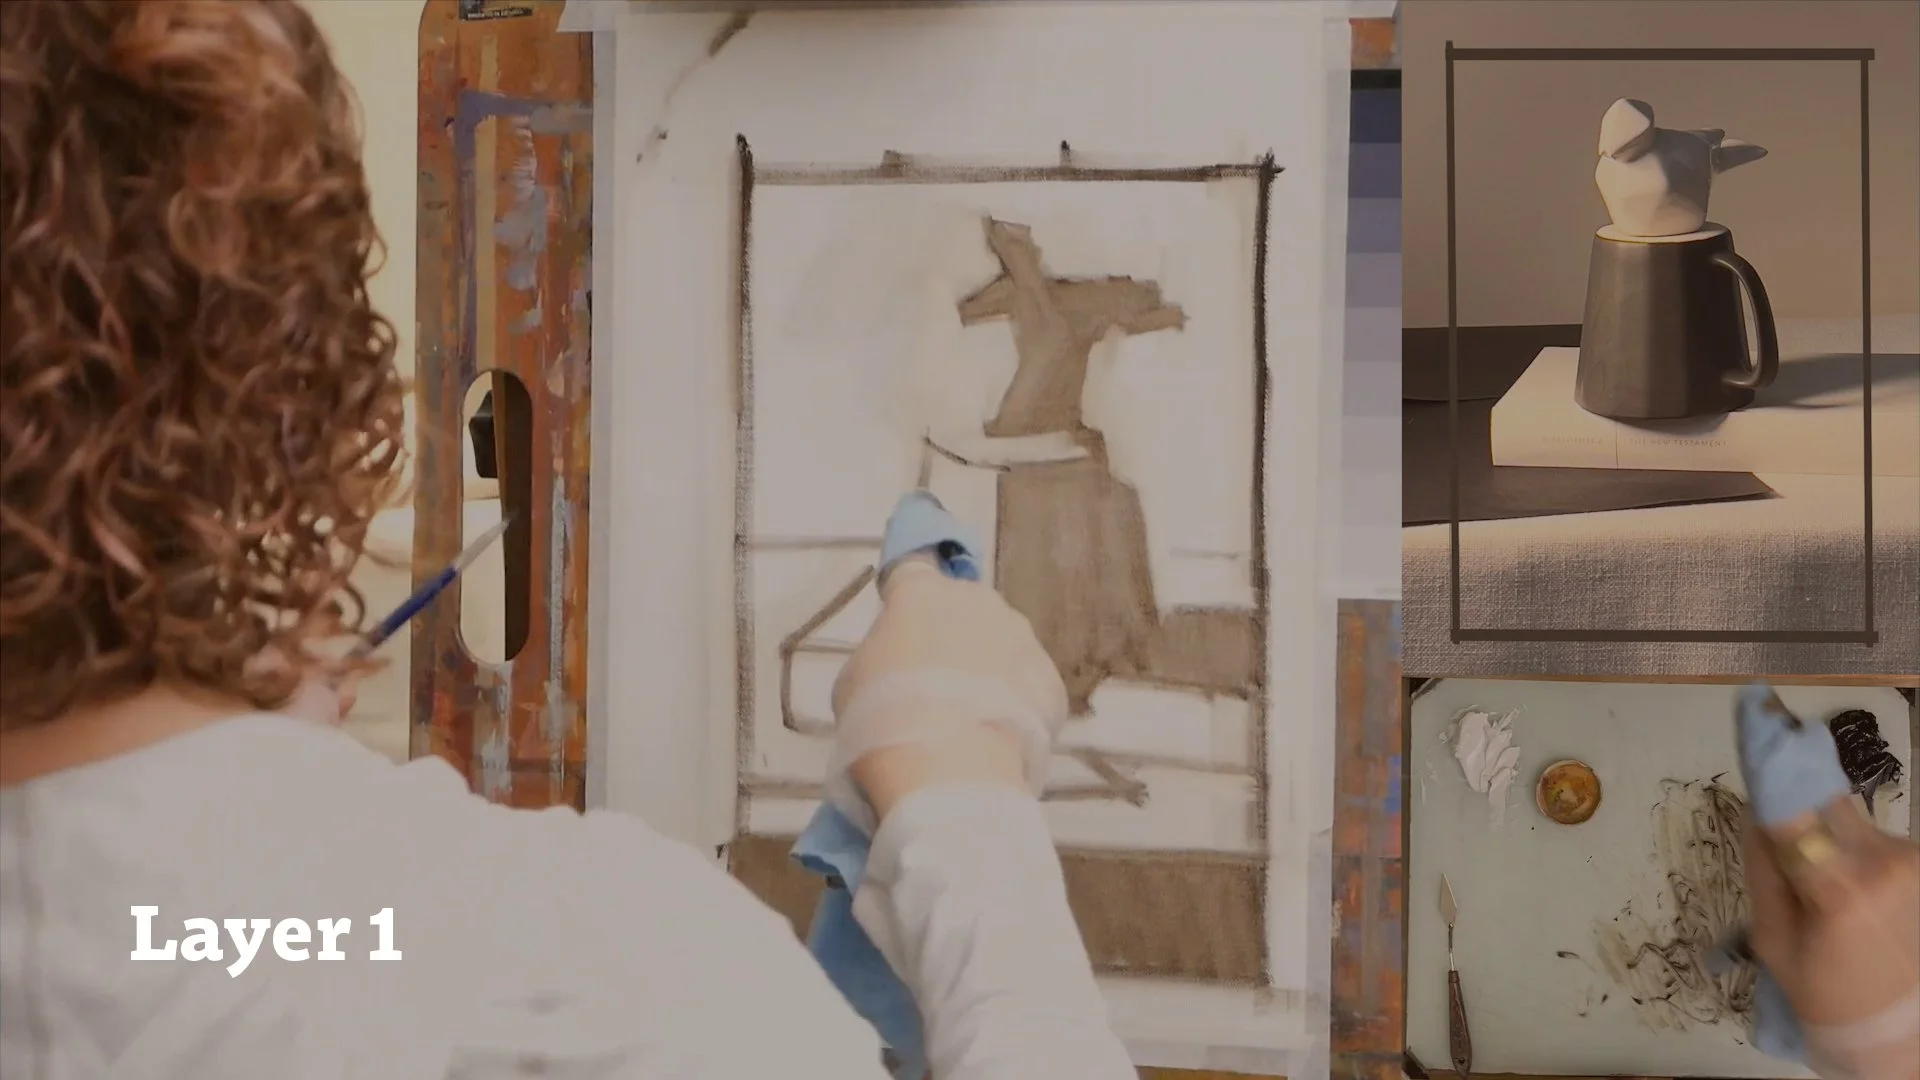
Work your way around the canvas
Go around and around the canvas, not spending too much time in any one area. Step back and view your canvas from far away frequently — maybe after every single brush stroke! This helps you stay present and focused on the canvas as a whole, rather than overworking any one area. Each time you think “Oh, I like this…” STOP!!!!! — step away and move to an area you aren’t yet satisfied with.
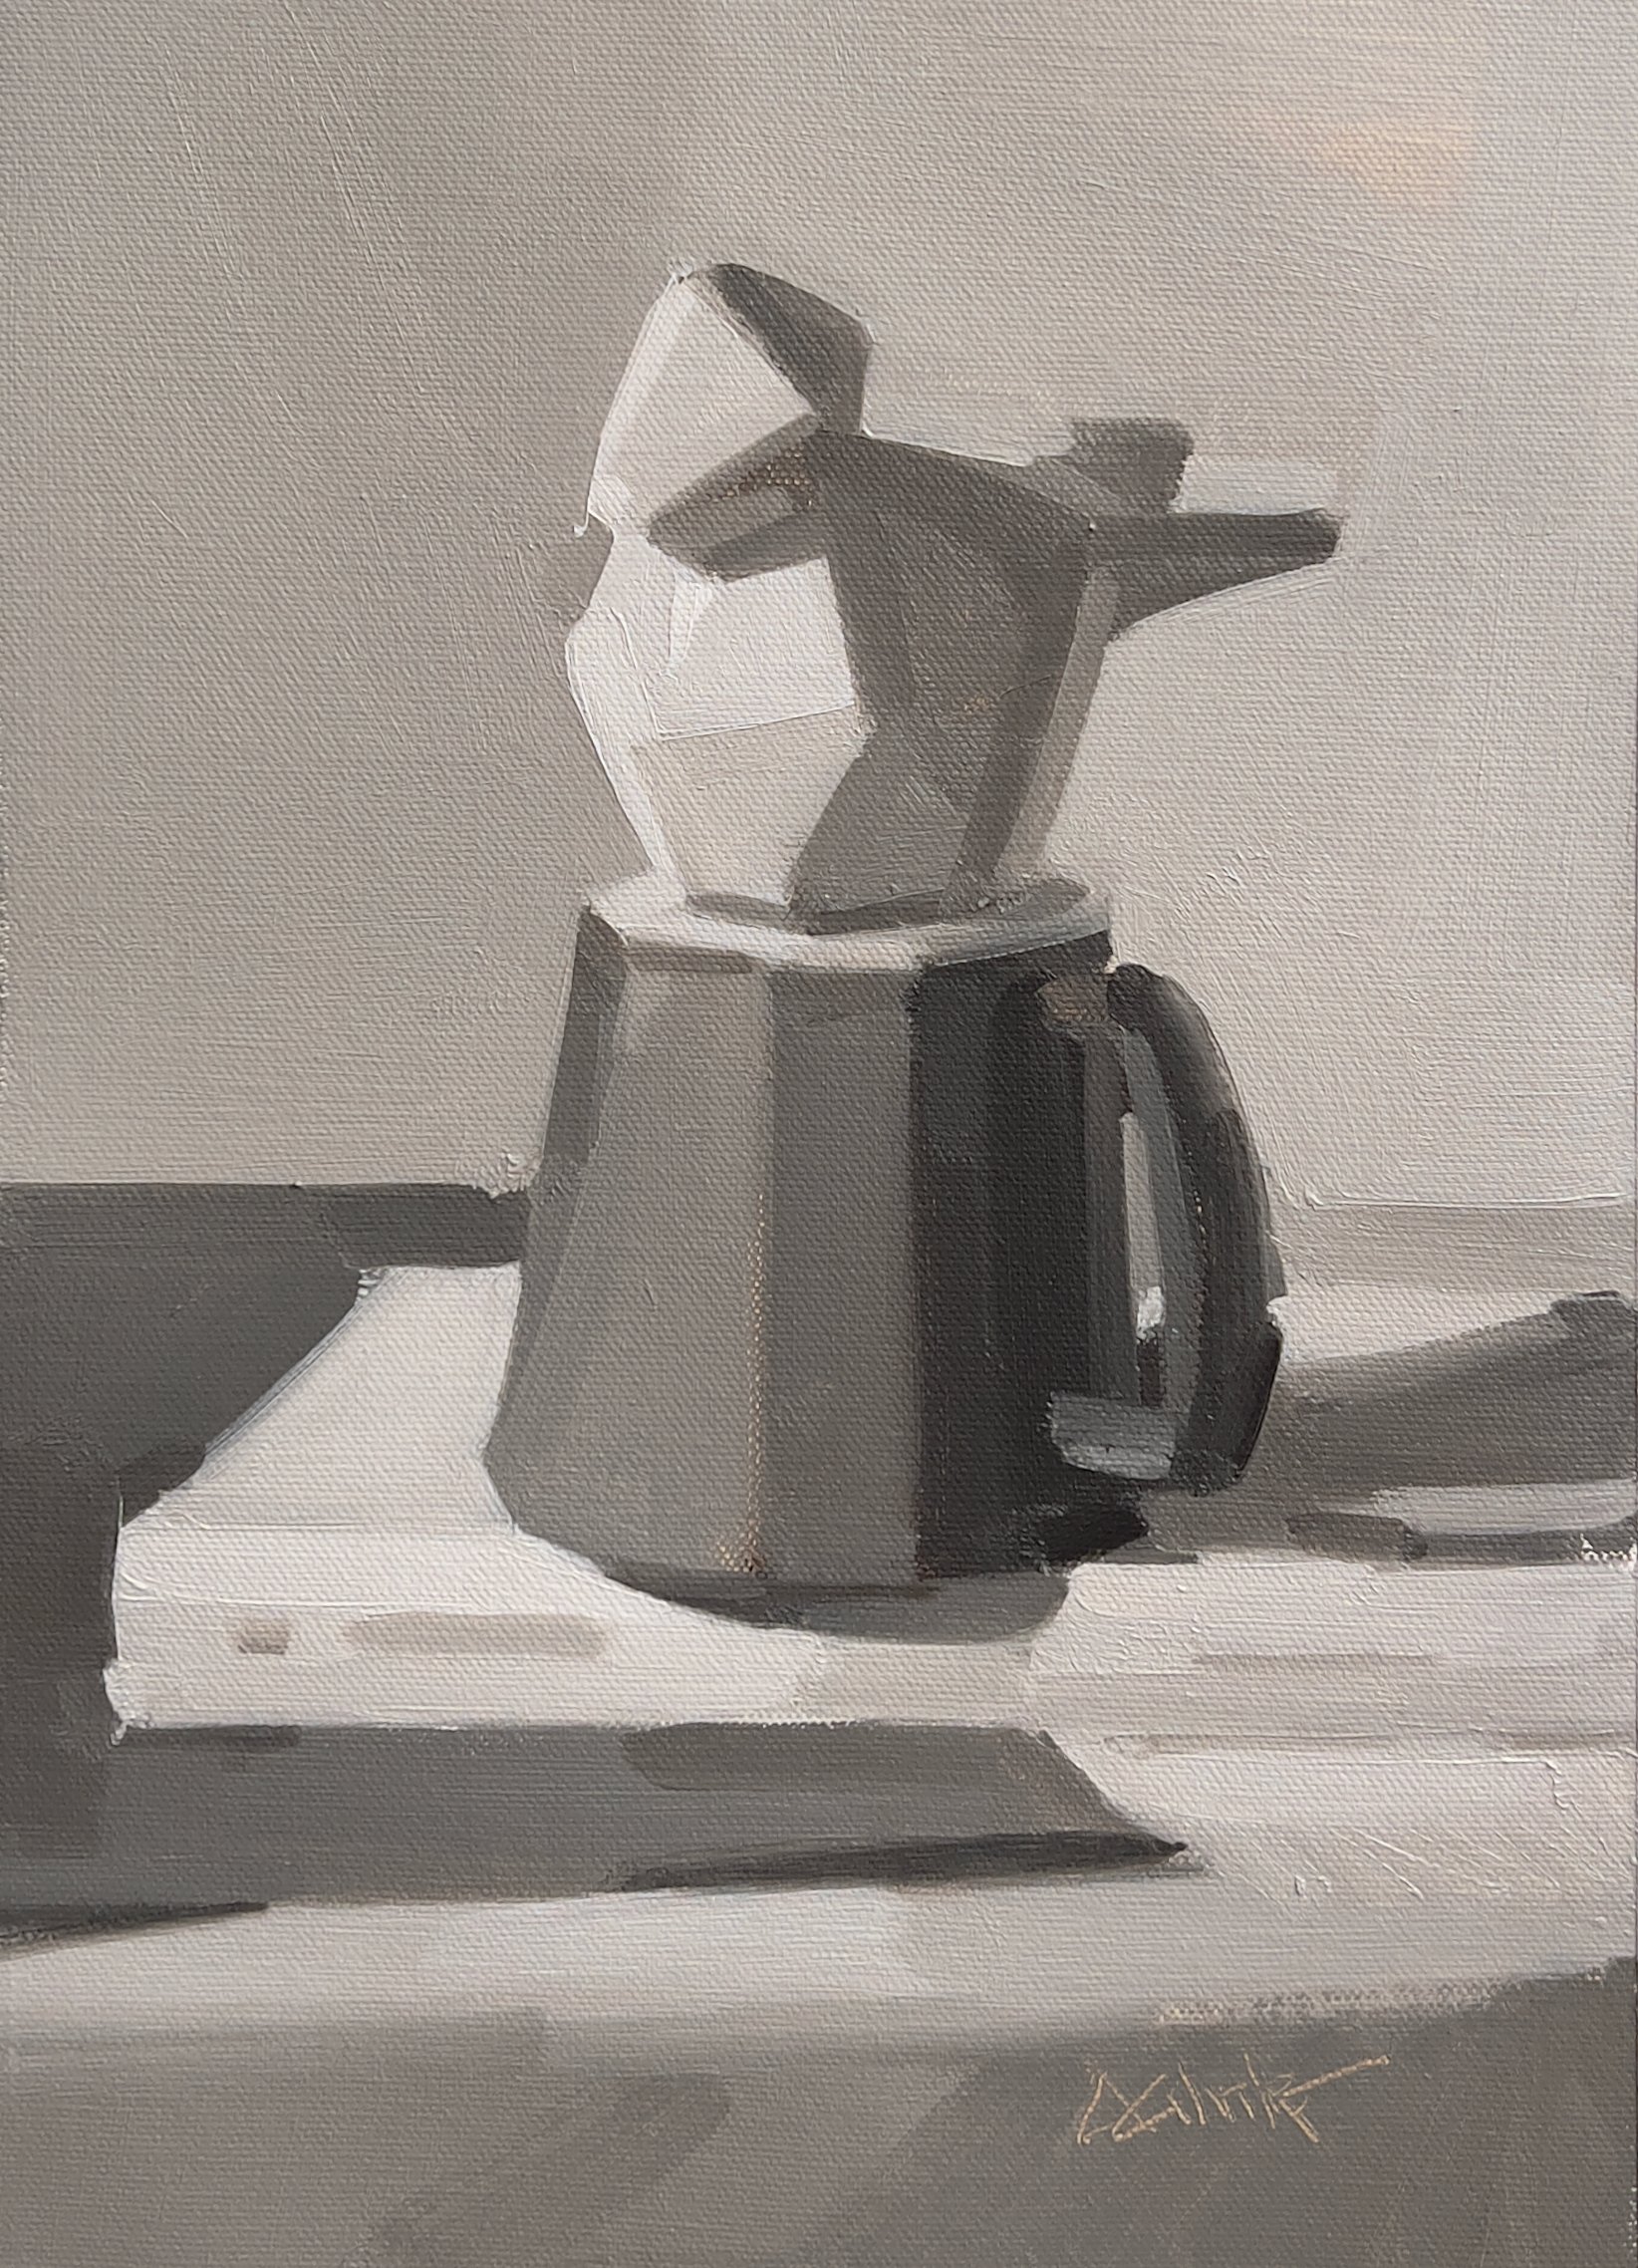
Add final details and clean up your brushwork
When you’re feeling like you’re mostly satisfied with your work, use your thickest paint to add in your tiniest finishing details, lightest pops of light, and darkest pops of shadow. Then clean up any messy edges or brushwork that you don’t like and sign your painting. You’re done!
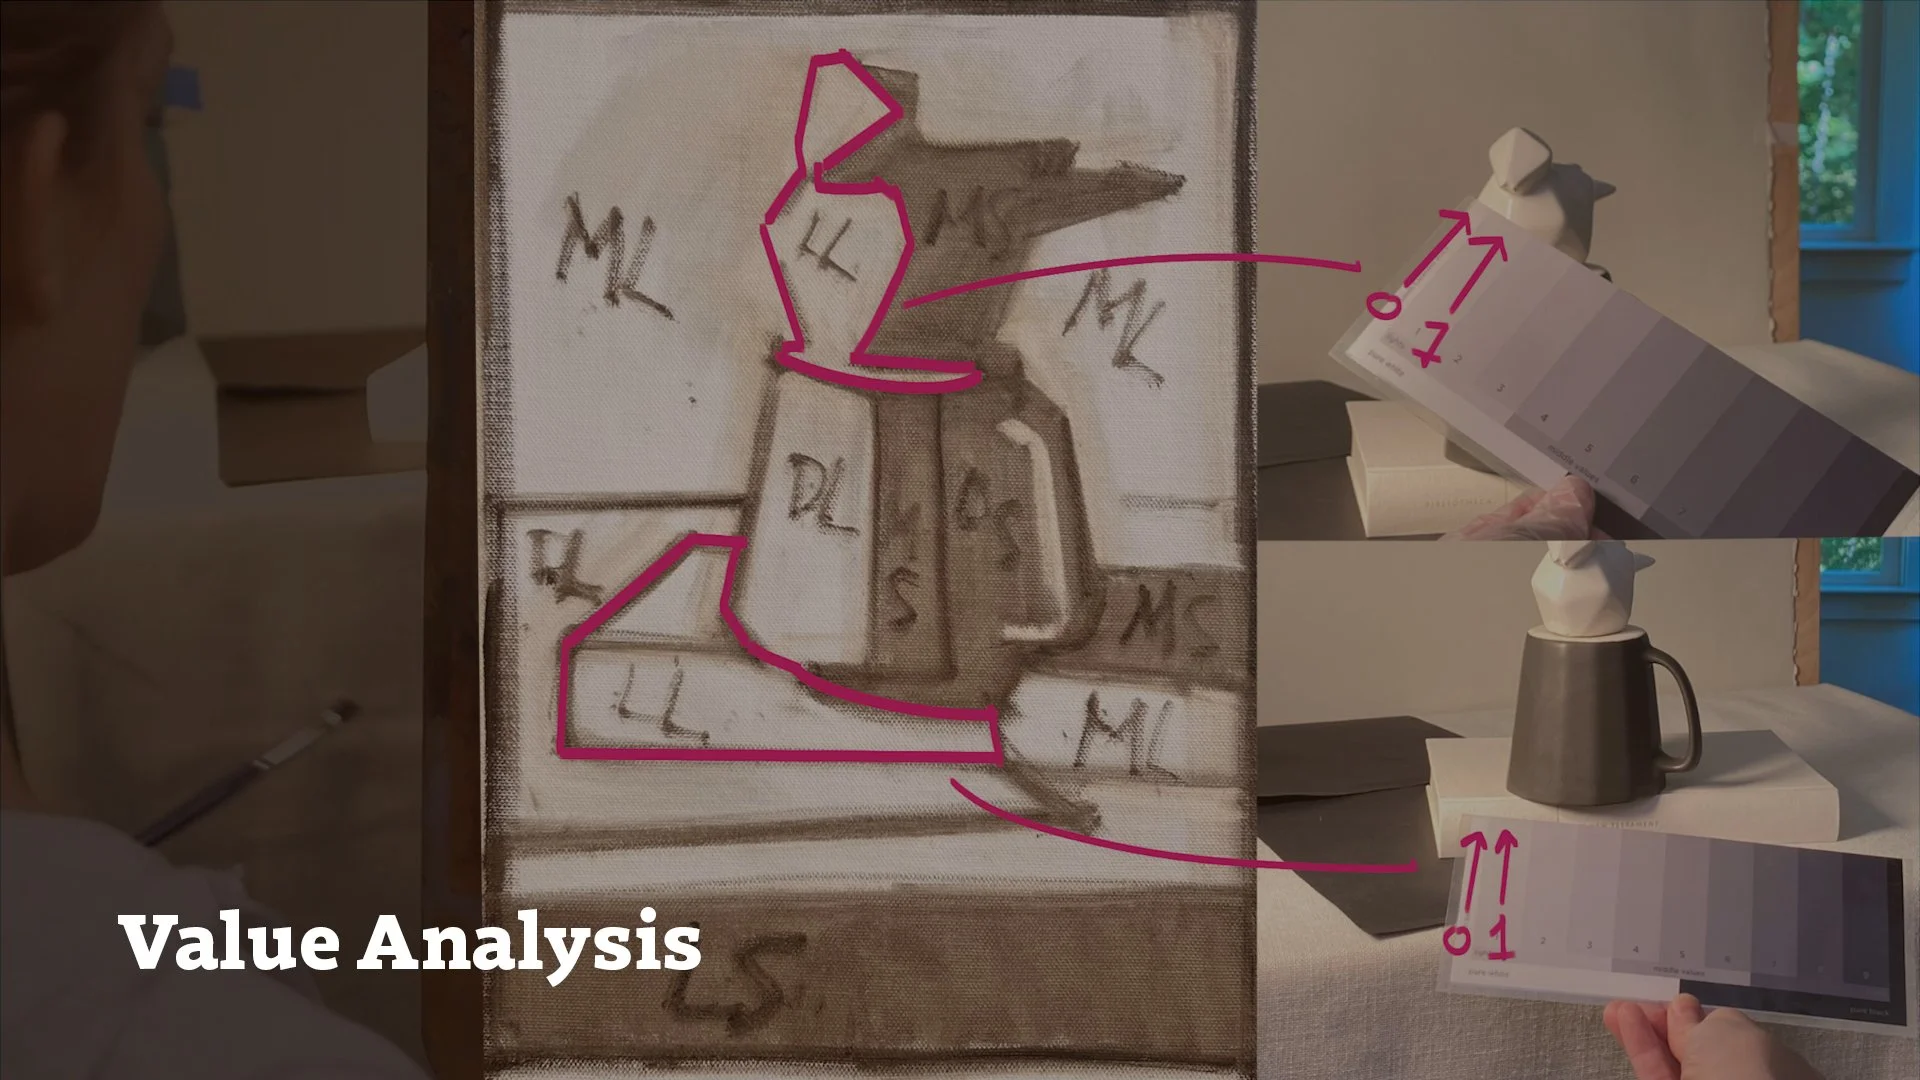
Note if this step feels too challenging: It’s okay! This is the hardest part of painting. My recommendation would be to stop, set up a new composition, and go through this process again, but ending at the previous step (Layer 2: Big Value Shapes). Practice many times before moving on to layer 3.
Left: Big Value Shapes (layer 2), Right: Smaller shapes (layer 3)
Bird, Book, and Mug, 9x12 inches, 2023 | Available